The Perfect Pourover in the All-Day Adventure Flask
Becoming a Pourover Wizard
Pourover Coffee (TLDR version):
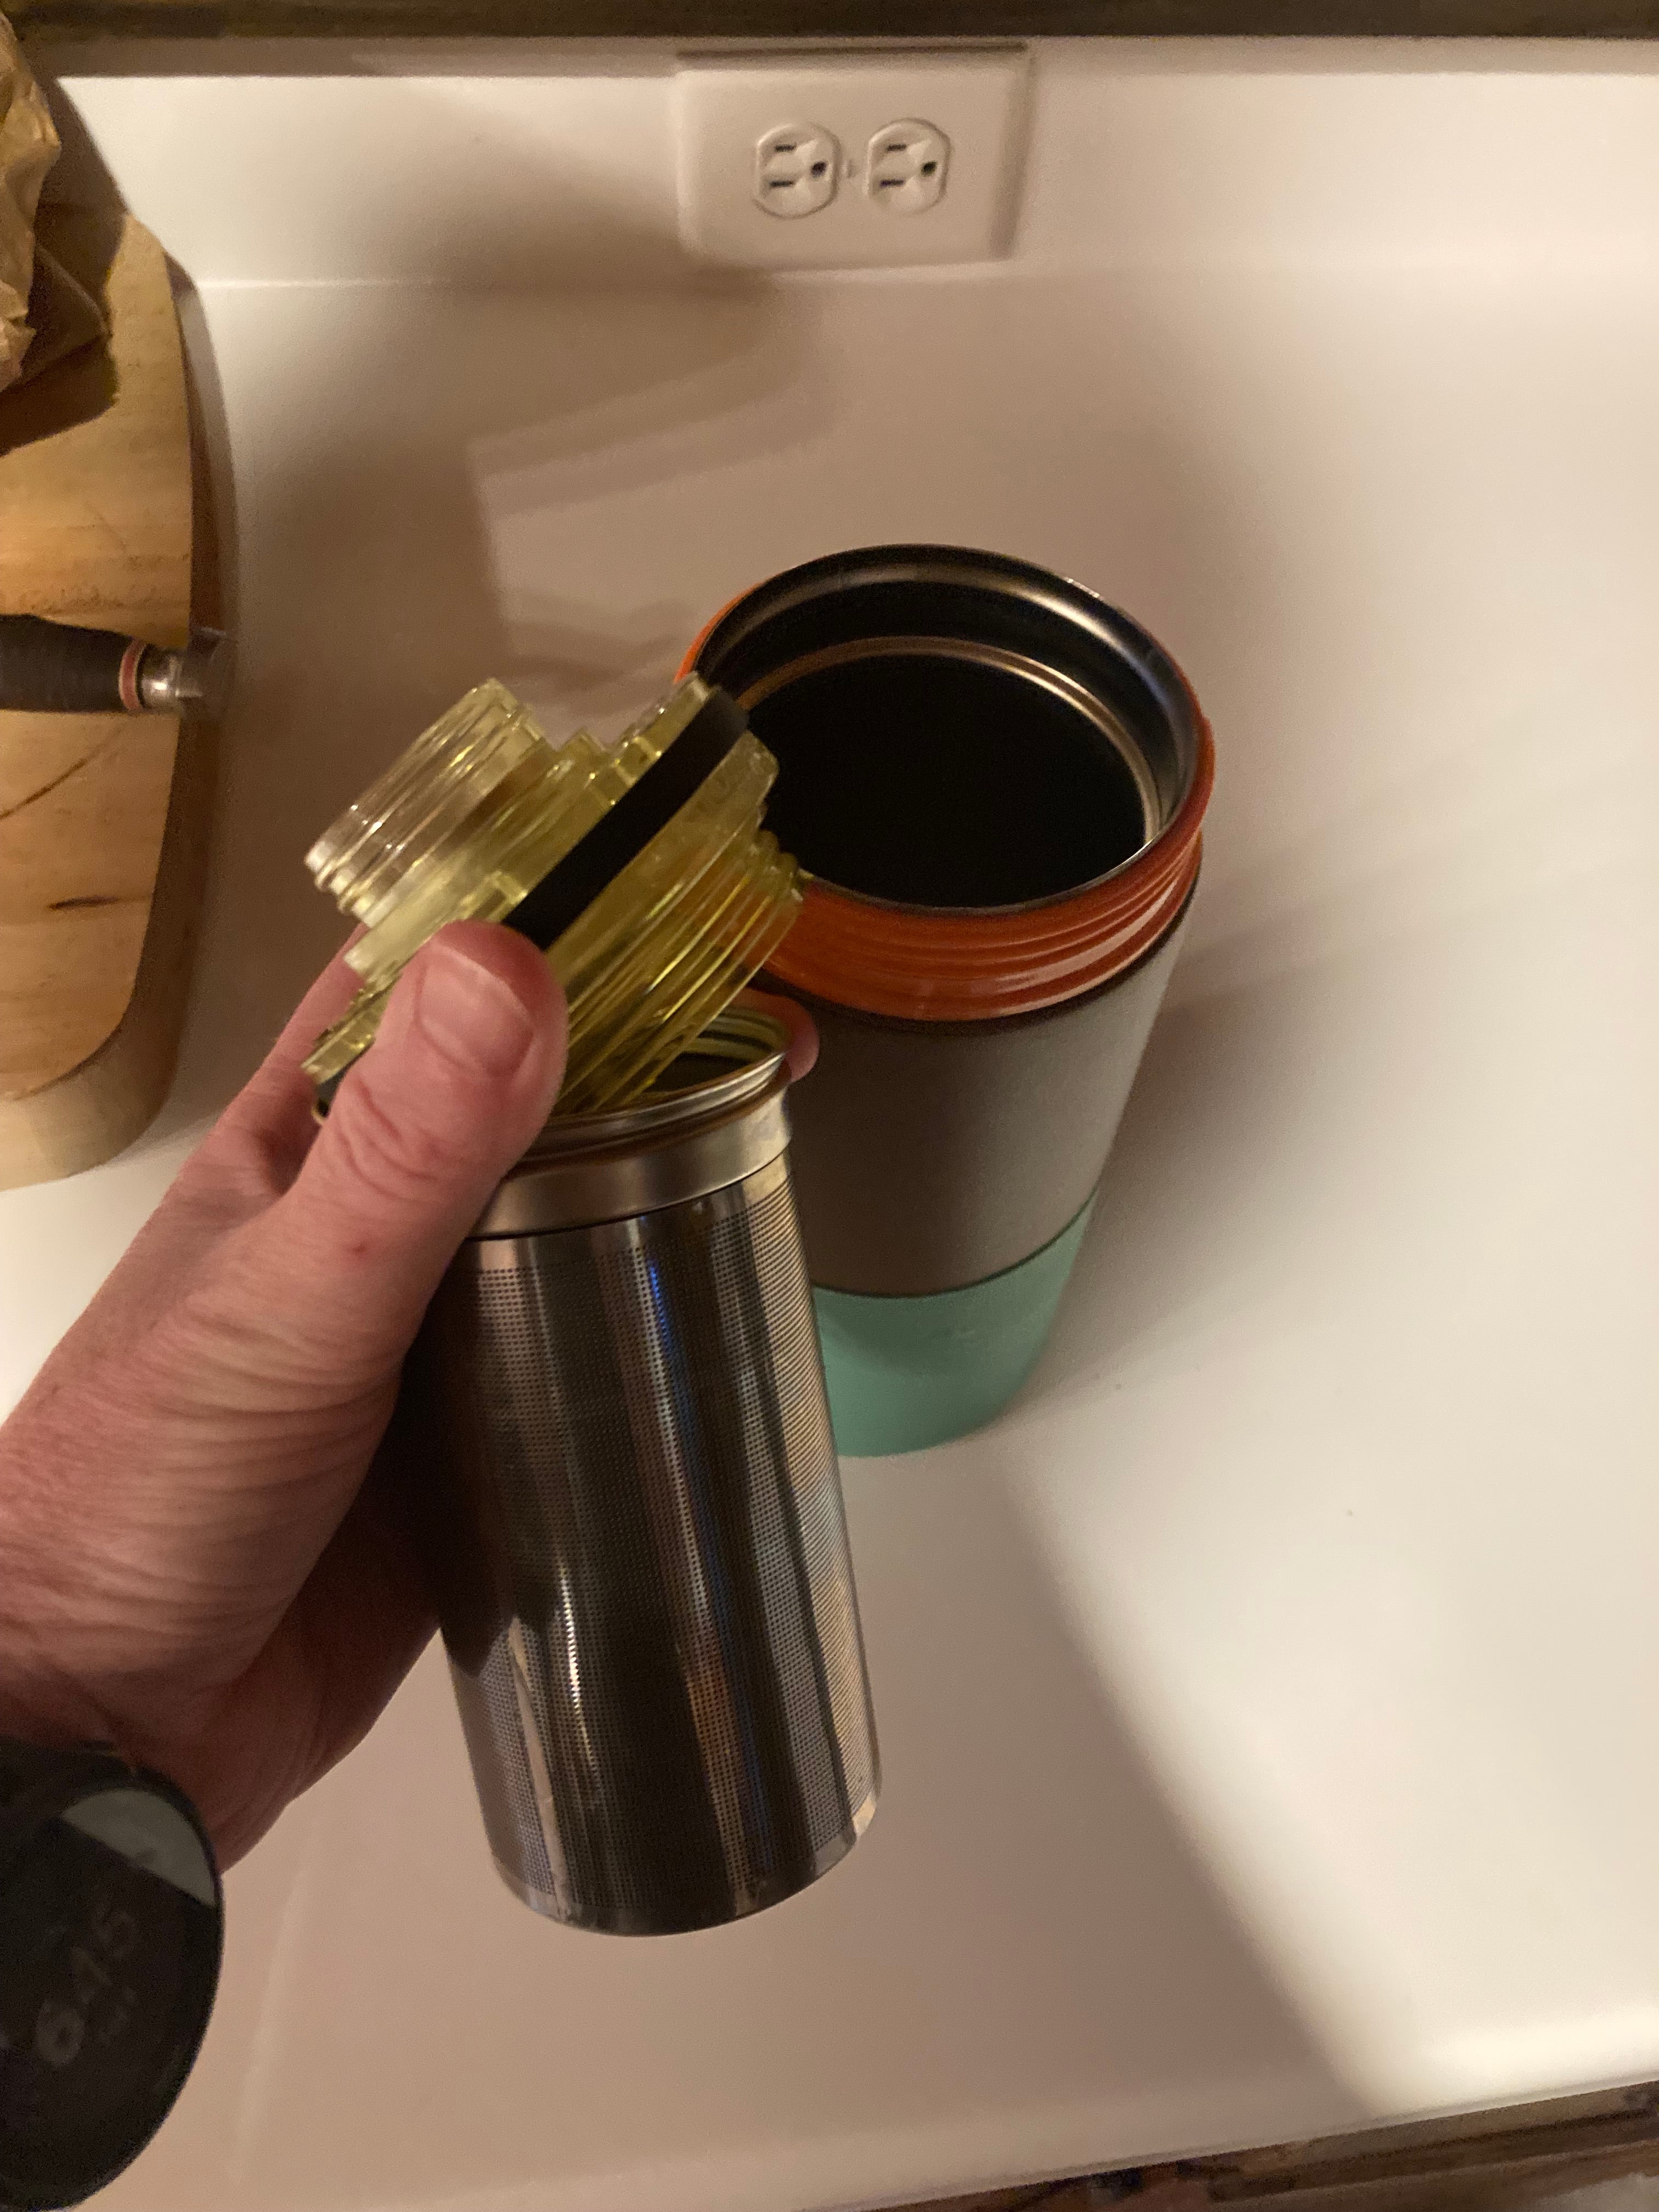
- Twist off the pourover piece of your flask, invert, and screw to the cocktail shaker (make the thermal core and filter basket are out of the flask first)
- Insert V-60 filter into pourover piece
- Fill filter up halfway with medium size grounds
- Bloom your grounds with 75-100ml of hot water
- Add hot water 198-202˚ 3-4 times (not exceeding 150ml) until the desired amount is achieved
- 12/1 ratio between water and coffee (here we are using 50 grams)
If you want to spice it up, keep reading:
- Fill with warm MEELK
- Teaspoon of vanilla
- Three HEEEEPing Tablespoons of shuga shuga in the raw
- If you stir it you’re doing it wrong. Add cap and shake your flask to froth..
It’s all about the variables, baby.
- Good ass fresh to death beans
- Coffee grind size
- Grams of coffee per grams of hot water (that’s right, grams)
- Water temperature
- Pourover technique
Grab your All-Day Adventure Flask and a V-60 filter and let’s do this.
Grind it out
Pre-grinders skip the grinding step because someone has already released the beautiful coffee spirit from within. Go to the next step to begin brewing your soulless coffee (relax, I’m joking). I’m going to assume you're not a sub-primitive blade-grinding type, but are a civilized burr-grinding scholarly type. Depending on the roast, you can play with a medium-fine to a coarser medium. The objective is to maximize extraction without too much bitterness. Willingness to experiment is encouraged.
Da Bloom
The Doubloon you say? One-Eyed Willy? That must mean the rich stuff is near the restaurant (first one to guess that movie gets a hat - DM us). A big Da Bloom always takes you to your caffeinated coffee treasure and every bean has one locked inside. Our job is to maximize the bean’s glorious plunder.
Part of what will be unlocked is CO2. However, the levels inside start to decrease as soon as the bean goes through a grinder. This is why the fresher the grounds the better.
So what the heck is a bloom? It’s the Carbon Dioxide escaping from the coffee grounds. When adding the first addition of hot water the grounds release their gas much like Aunt Mildred after raiding free samples at Costco. You know the beans are doing their thing when they poof up like an angry friggin’ penguin. But why do we care? Because if they don’t poof, your shit is old and gross like the pizza that fell in the back of the fridge.
The key here is to be patient as the gas escapes. We want to extract the most amount of flavor without unnecessarily diluting your morning coffee. Because the gas is busy escaping there isn’t any room for the hot water to get all Netflix and chill with your grounds. But after about 30 seconds or so, the gas has escaped and now it’s open season on extraction.
Wait wut? How do I do this without screwing it up? You got this. Just add 75-100ml of 200˚ water slowly to your freshly ground coffee. Zone out on it getting super poofy for 50 seconds-ish. That’s the CO2 escaping. Once it’s done you have successfully bloomed your coffee. WTG, collect your trophy here.
Extraction
Time to ease your yawnin’ at the break of dawn. Here’s how to handle your 3-4 additions of 198˚-202˚ water:
- The first post-bloom addition is 100ml. Start at the center and in a very slow circular motion move the circle to the outside edge. Give it 60 seconds of rest after it drains before moving on to the next addition. Don’t rush perfection.
- Now we can go a bit HAMier with the last 2-3 additions. They should be no more than 150ml at a time. This time starting the circles from the outside edge and moving in. The idea here is not to disturb your neat bed of grounds. They don’t want to be agitated. Be sure to leave at least 15 seconds in between.
The key here is to be dainty with your coffee and not overwhelm it with mass quantities of boiling water; It’s a delicate process. Just think small editions at a time rather than large dumps like, well... dumps like a truck, truck, truck. Caffeine like what, what, what. Let me see that.. Ok, So yeah, moving on, small editions.
So guess what? You’re good here. You just made the most fantastical coffee of your life, guaranteed.
Stirring is for the birds
I’m telling you this because I mean it. When given the option, shaken coffee is always better, always. It’s frothy, delicious, everything is equally distributed throughout. It’s a glorious mind-bending experience. Why we even stir is beyond me, unless of course there is no other option.
We can go so many different directions here, but we’ll keep it simple.
- Add your desired sugar
- Add cream or whole milk (skim milk is garbage)
- Cap it and shake the devil out of it.
- You’re welcome
That’s it, folks, pour and enjoy with friends. Because life is better enjoyed in a good company bearing over embarrassing stories about how you barely outran a bear barefooted while eating a bearrito, oh and drinking coffee. Too much, we know.
Cheers!
Mark